Cutting tiles can often feel like a daunting task, especially if you’re aiming for precision and perfection. Whether you’re a DIY enthusiast or a seasoned professional, achieving the perfect cut with a tile saw is both an art and a science. In this blog post, we’ll delve into the essential tips and tricks that will help you unlock the secrets to flawless tile saw cuts. Let’s get started!

Understanding Your Tile Saw
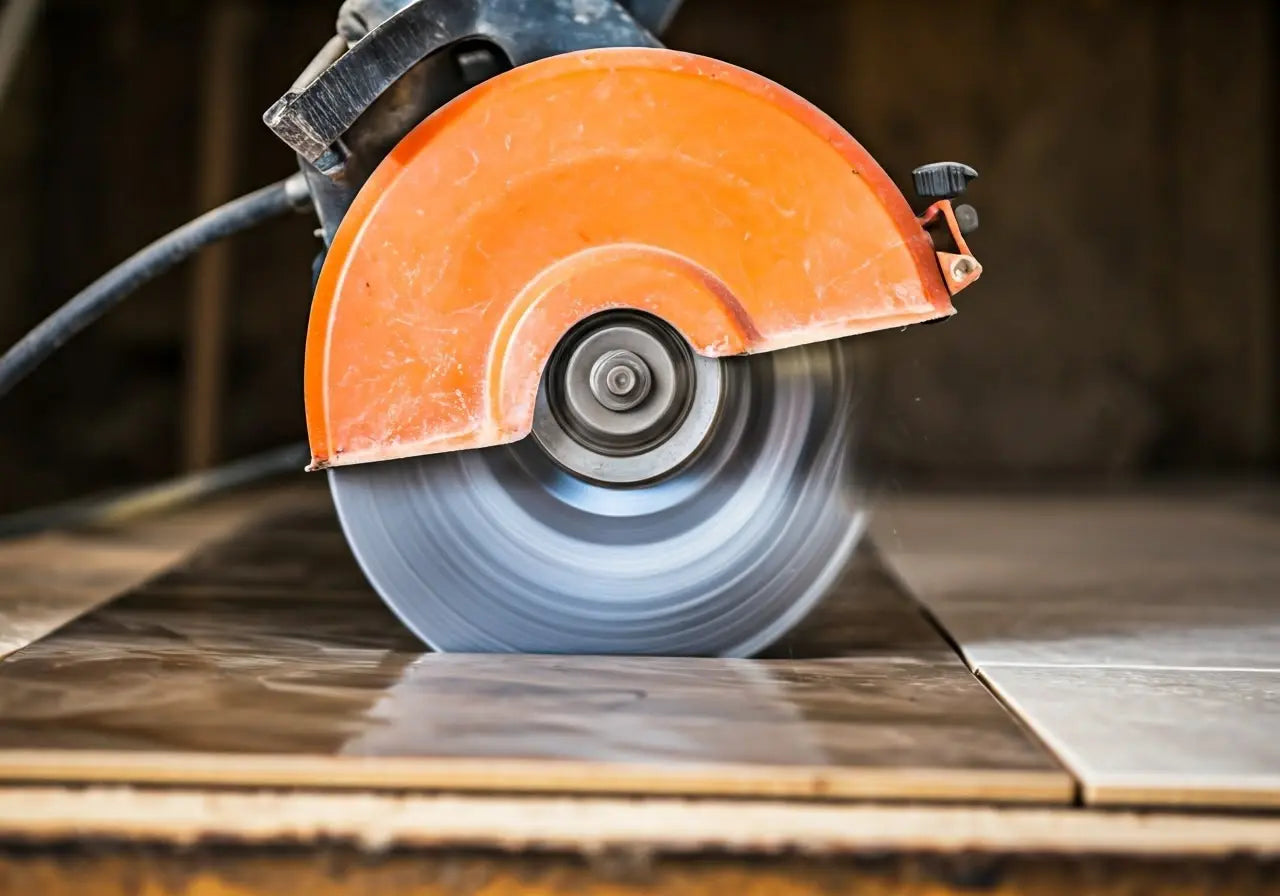
Before you begin, it’s crucial to familiarize yourself with your tile saw. Knowing its parts and functions will make a significant difference in your cutting technique. From the blade to the water reservoir, each component plays a vital role in ensuring a clean cut.
A tile saw might appear complex at first glance, but understanding its basic components can boost your confidence and effectiveness. The heart of the saw is the blade, often diamond-coated, which slices through tile with ease. Above the blade, there’s a water reservoir built to cool the blade as it cuts, preventing excessive heat, which can cause warping or damage. Familiarizing yourself with the guide rails is also essential to ensure perfectly aligned cuts. Ensuring your saw is in optimal condition is equally important —check for wear and tear, especially on the blade, which can dull over time. Regular maintenance can often save you time and frustration in future projects.
Selecting the Right Blade
The blade you choose can drastically impact the quality of your cut. Consider factors like the type of tile material and thickness when selecting your blade. A diamond blade is typically the most versatile and reliable choice for most tile cutting applications.
Different types of tiles require different blades to achieve the best results. For instance, porcelain, known for its durability, is particularly hard and requires a blade specifically designed for dense materials. On the other hand, softer tiles like ceramic can be cut with a general-purpose blade. The thickness of the tile also demands attention—thicker tiles may need a turbo rim or a segmented rim diamond blade to handle the load efficiently. Always check the manufacturer’s specifications and recommendations for compatibility before making a purchase. Remember, investing in the right blade not only preserves the integrity of your tile but also enhances the lifespan of your tile saw.
Prepping Your Workspace
A well-prepared workspace is the foundation of perfect tile cuts. Ensure your work area is clean and organized, with all necessary tools within reach. Clear any obstructions and set up a stable platform for your tile saw.
Safety is paramount when preparing your workspace for tile cutting. Start by wearing appropriate attire: safety goggles to protect your eyes from flying shards and sturdy gloves to shield your hands. Arrange your tools strategically to create a smooth and uninterrupted workflow. Lighting plays a critical role—make sure your workspace is well-illuminated to avoid any mishaps while working. Consider laying down protective materials to prevent any damage to underlying surfaces from dust or splinters. Finally, having a dust extraction system in place can reduce cleanup time and improve air quality, making your workspace both efficient and healthier.
An organized workspace doesn’t only refer to cleanliness but also to thought-out arrangements. Position your saw for easy accessibility, ideally on a stable table that withstands vibration. Having a bin nearby for offcuts is helpful, preventing unnecessary clutter. Also, ensure you have a supply of clean water, as it will be necessary to cool the blade and reduce dust. Pre-measure your tiles and have them stacked neatly, so you spend less time searching and more time cutting. Efficiency in setup directly translates to efficiency in the execution of your tiling project.
Perfecting Your Cutting Technique
Achieving perfect cuts requires a steady hand and a bit of patience. Start by marking your cut lines clearly on the tile. Begin with a light scoring pass before proceeding with a complete cut. This technique reduces the risk of chipping and ensures a cleaner edge.
Once you’ve lined up your tile on the saw, it’s all about patience and precision. Begin by aligning the blade carefully with your marked cut line. Starting slow is crucial—especially if it’s your first cut or the blade is encountering a particularly dense section of tile. As you gain confidence and the cut progresses smoothly, you can gently increase the pace. Always keep your hands clear of the blade, using a pusher tool to guide the tile if necessary. Regularly check for dust build-up on your marker lines to ensure you maintain accuracy throughout the cutting process. Remember, the smoother the initial score, the better the final cut.
Keeping a steady rhythm is key to reducing tile breakage. Avoid forcing the tile through the blade; let the blade do the work, smoothly and effortlessly. For particularly detailed cuts or intricate angles, consider using pre-installed clamps or guides for consistency and precision. If you encounter resistance, pause and reassess rather than pushing ahead and risking damage. With sustained practice, your technique will naturally refine, bringing each project closer to that professional-grade finish.
Troubleshooting Common Issues
Even with the best preparation, things can go awry. From uneven cuts to chipped edges, learn how to troubleshoot common tile cutting problems. The right adjustments can quickly get you back on track to achieving those perfect cuts.
One of the most common issues encountered is tiles cracking or chipping at the edges. This often results from using a dull blade or applying too much pressure during the cutting process. To resolve this, regularly check the condition of your blade and ensure it’s suitable for the tile type and thickness. Additionally, ensuring the tile is securely supported on the platform can prevent unwanted movement that leads to uneven cuts.
Another frequent challenge is overheating, which can warp both the tile and the blade. Always keep an eye on your water reservoir levels to ensure continuous cooling during operation. If you detect excessive noise or vibrations, it might be an indicator that the saw needs maintenance or the blade requires re-alignment. Regular maintenance checks after each project can help catch these problems early, promoting both your equipment’s longevity and your work’s quality.
Master the Art of Tile Cutting
With these tips and tricks, you’re well on your way to mastering the art of cutting tiles with precision. Remember, practice makes perfect, and each project will bring you one step closer to achieving those flawless cuts. Don’t be afraid to experiment and find what works best for you. Happy cutting! For more information about high-quality tile saws and accessories, visit the iQ Power Tools homepage.

Leave a comment
This site is protected by hCaptcha and the hCaptcha Privacy Policy and Terms of Service apply.