Tile cutting can seem daunting at first, but with the right techniques and tools, it’s a task anyone can master. Whether you’re a DIY home renovator or a professional, knowing how to use a tile cutter efficiently will save you time and ensure precise results. In this guide, we’ll explore the best practices for getting the most out of your tile cutter.
Understanding Different Types of Tile Cutters
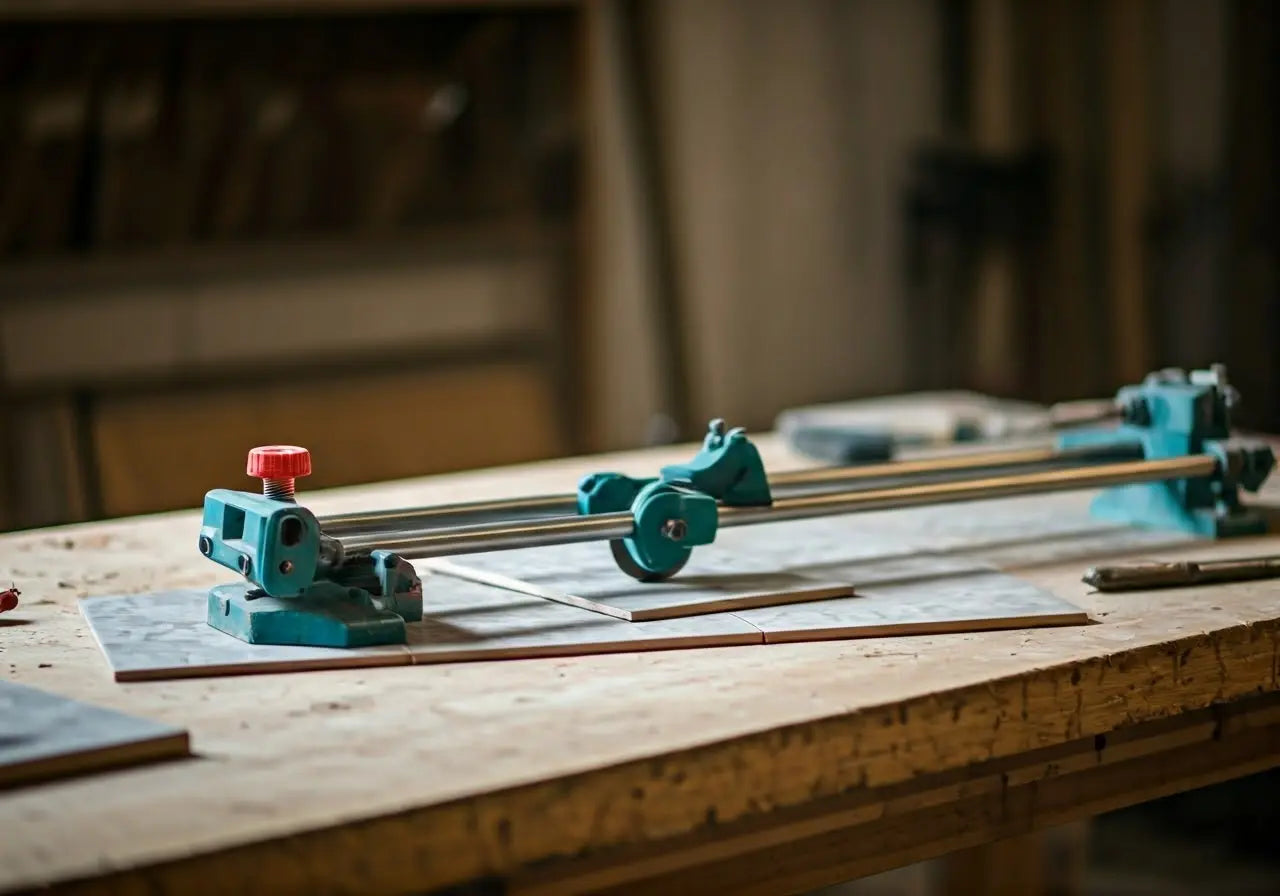
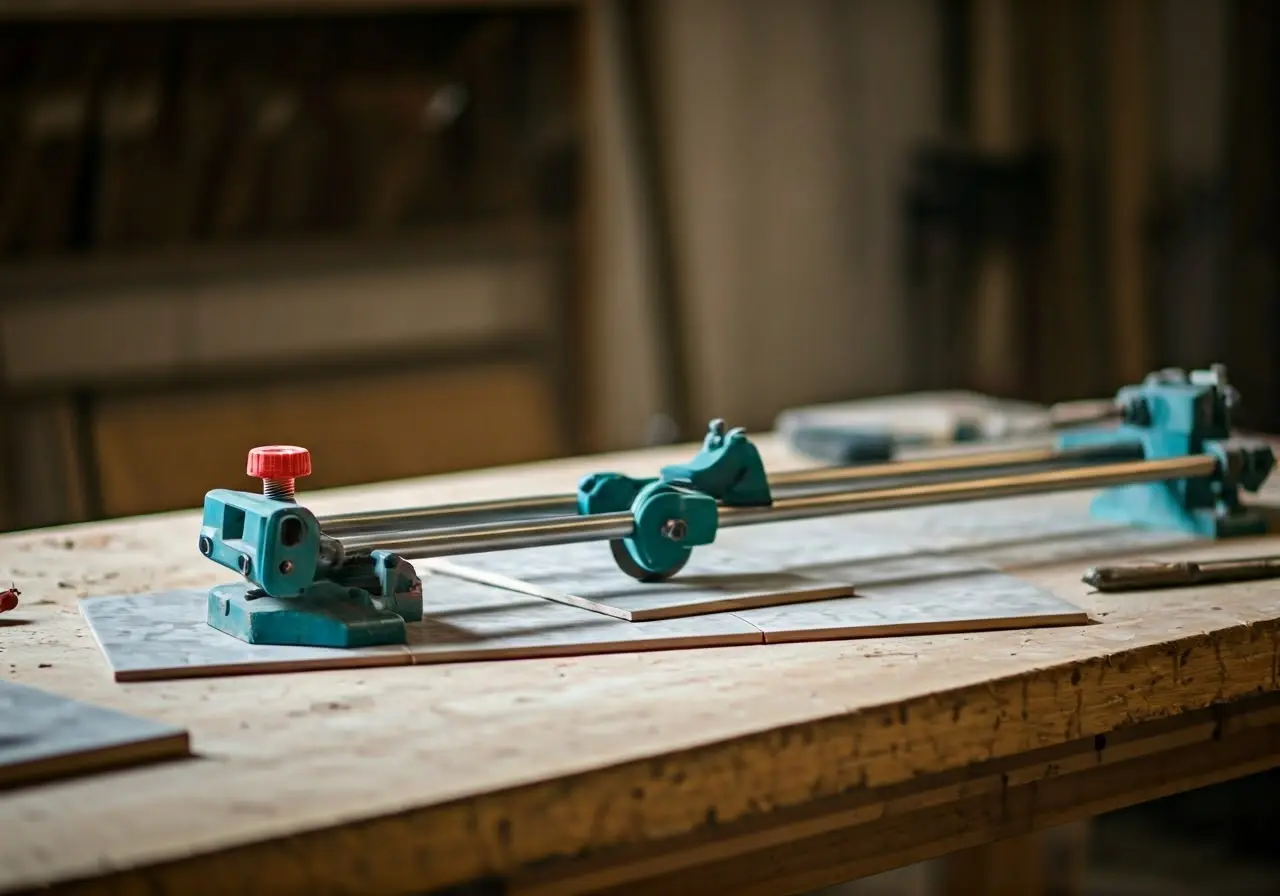
Before diving into tile cutting, it’s important to understand the various types of tile cutters available. From manual snap cutters to electric wet saws, each tool serves a different purpose. For instance, manual tile cutters are perfect for making straight cuts in ceramic tiles, offering simplicity and ease of use for small-scale DIY projects. On the other hand, wet saws are ideal for porcelain and natural stones, where precision and smooth edges are crucial. Additionally, innovations like the iQTS244 dry cut tile saw are revolutionizing the market with their efficient dust containment systems, making them suitable for both professionals and enthusiasts with large-scale projects.
Selecting the right tile cutter is not just about the tool itself, but also about the nature of your project. Consider the size and type of tiles you are working with, as well as the volume of work. If you’re a professional contractor, investing in robust tools such as the iQ228 Cyclone table saw will enhance your efficiency, especially in demanding environments. For home renovators, a handheld tile saw or snap cutter may suffice for smaller tasks, providing portability and ease of use without compromising on the quality of the cut.
Preparing Your Tools and Workspace
A successful tile cutting job begins with proper preparation. Ensure your tile cutter is in good condition, and your workspace is clean and organized. This preparation not only minimizes errors but also significantly increases your cutting efficiency. Start by inspecting your tools for any wear or damage, particularly the blades or scoring wheels. A sharp and properly maintained blade is critical for achieving clean cuts and reducing tile wastage. Using dressing stones, for example, can maintain the sharpness of your blade over time.
Organizing your workspace involves setting up a dedicated area for cutting, with adequate lighting and ventilation. Ensure that you have enough room to maneuver both the tiles and the cutter safely. Incorporate a durable workbench or portable table that can accommodate your project scale. An efficient setup also includes easy access to other essential tools and materials, like measuring tapes, pencils for marking, and of course, safety equipment such as gloves and goggles to protect yourself from debris.
Lastly, consider the cleanliness of your environment. Dust particles from tile cutting can accumulate rapidly, affecting visibility and tool performance. Tools like the 10” x .060 Q-Drive Plus-Tile Blade are excellent for minimizing dust production, offering precision cuts with reduced clean-up time. For projects involving cutting in indoor areas, using tools equipped with efficient dust containment systems can be particularly beneficial.
Measuring and Marking Your Tiles Accurately
Accurate measurements are crucial when cutting tiles. Properly measuring and marking your tiles can prevent costly mistakes and ensure a clean finish. Begin by gathering your materials: a measuring tape, a straight edge, and a pencil or marker specifically designed for tiles. Use the measuring tape to determine exact dimensions required for your space, accounting for grout lines which can affect the final alignment of the tiles.
Once dimensions are confirmed, lay the tile on a flat surface and use the straight edge to guide your marking tool. Consistent and clear marks ensure precision during the cutting process. Remember, ‘measure twice, cut once’ is a motto to live by. This simple yet effective practice helps avoid potential material wastage and ensures the final installation fits perfectly within the intended layout.
In addition to straight cuts, you may need angled or irregular cuts, which are more complex and require extra attention when marking. For this, employing tools like a laser level can be immensely helpful, providing a visual guide for more precise and intricate patterns. Additionally, learning to adjust your tool settings makes it easier to handle intricate cuts, ensuring consistency and accuracy with each tile crafted.
Executing Precise Cuts with Confidence
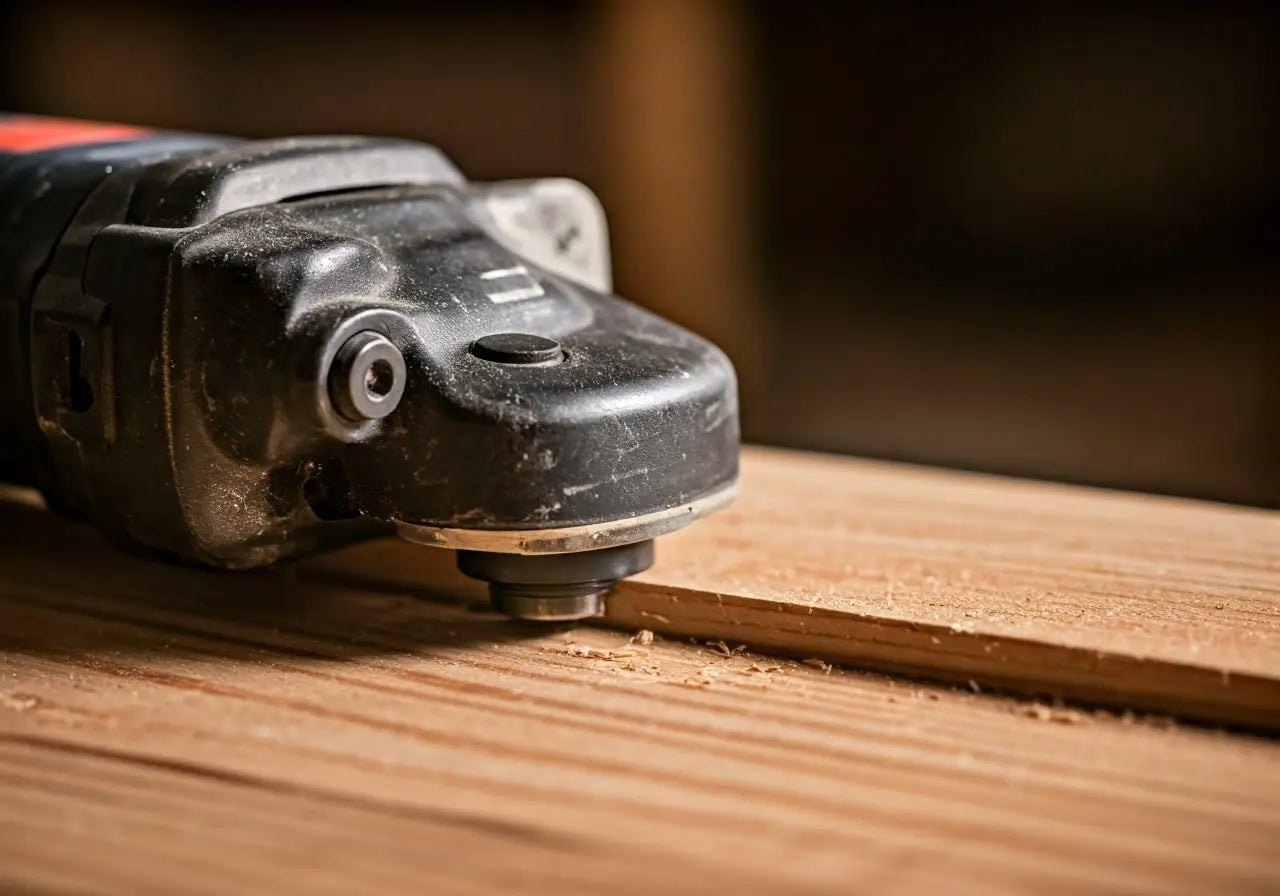
With your tools and tiles prepared, it’s time to make the cuts. Discover tips on how to cut smoothly and steadily, ensuring a precise fit every time. One key factor is confidence, which grows through familiarity with your tool’s functionality. Begin by securing the tile in position, aligning it with the cutter guide. Applying firm and even pressure is vital, especially when using manual cutters – too much or too little force can lead to uneven cuts or damage to the tile.
When using a wet or dry saw, consistency is your ally. Slowly guide the tile through the blade, maintaining a steady pace to prevent chipping or cracking. Tools like the iQTS244 dry cut saw provide high precision without the mess of water, enhancing the overall quality of the cut. Keep an eye on the blade’s alignment to ensure it doesn’t deviate from the marked lines, and periodically remove debris that might obstruct the cutting path.
For more complex shapes or intricate designs, practice beforehand on scrap pieces to build your confidence before tackling the actual tiles. Using a firm grip and steady motion will lead to smoother and more professional-looking outcomes. Remember, each cut is an opportunity to refine your skills and gain experience, which ultimately translates to better and more efficient tile-cutting results.
Troubleshooting Common Tile Cutting Issues
Even with careful planning, issues can arise, such as chipping or uneven cuts. Fortunately, understanding these common problems allows you to troubleshoot effectively, ensuring your project stays on track. For instance, tiles not breaking cleanly along the score line is a frequent problem. This can arise from inadequate pressure during scoring or using a dull scoring wheel.
Chipping often occurs if the tile is not secured correctly or if there is excessive force applied during cutting. Mitigate this by ensuring the cutting surface is stable and the tile is well-positioned, potentially using clamps for additional security. Replacing or sharpening dull blades also minimizes chipping, contributing to a clean, professional edge every time you cut.
Incorporating tools like a tile file can help smooth out any rough edges, enhancing the final look of each tile. Additionally, having spare tiles on hand allows for quick replacements in the event of any mishaps. Learning how to keep adjustments minimal can avoid these problems becoming major frustrations, helping you maintain progress without unnecessary pauses.
Empower Your DIY Projects with Effective Tile Cutting
Mastering the use of a tile cutter opens the door to countless DIY projects, allowing you to achieve professional results in your home renovations. With these techniques in your toolkit, you’ll find tile cutting not only efficient but also an enjoyable part of the process. Happy tiling!

Leave a comment
This site is protected by hCaptcha and the hCaptcha Privacy Policy and Terms of Service apply.