Tile cutting is an essential skill for any professional working in tiling or renovation. Whether you’re installing new tiles in a bathroom, kitchen, or commercial space, mastering the techniques of tile cutting can drastically improve the quality of your work. In this blog, we’ll explore key techniques to help you upgrade your toolkit and produce stunning results with every project.

Understanding Different Types of Tile Cutters
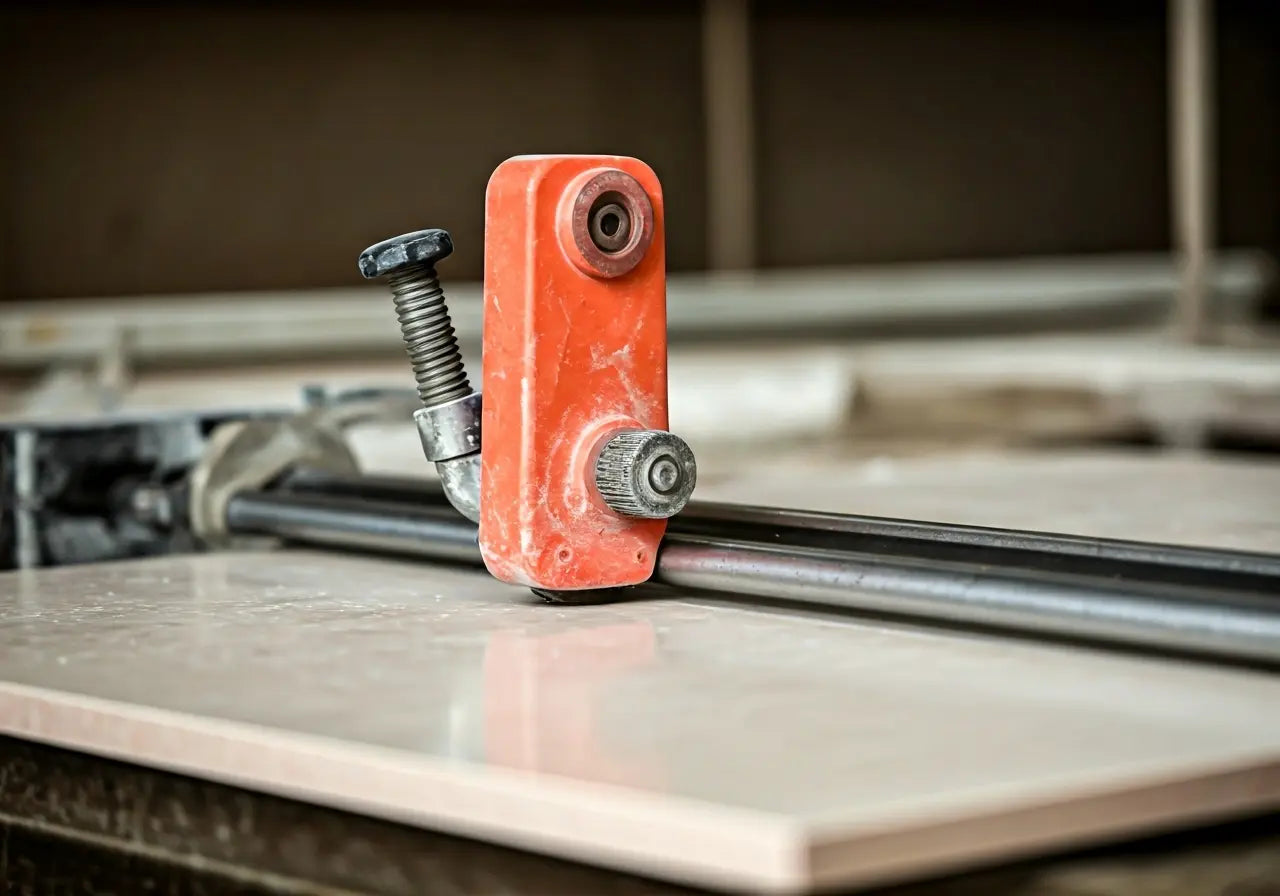
When delving into the world of tile cutting, it’s essential to understand the various tools available. Manual tile cutters, for instance, are ideal for straight cuts on ceramic and porcelain tiles due to their simplicity and ease of use. These devices typically use a tungsten carbide wheel to score the tile before a swift snap separates it cleanly. On the other hand, electric tile cutters, particularly wet saws, offer higher precision and speed, making them well-suited for complex cuts or harder materials like stone and larger porcelain tiles. These power tools incorporate a diamond blade and water cooling mechanism, which reduces dust and heat during cutting, significantly enhancing safety and precision.
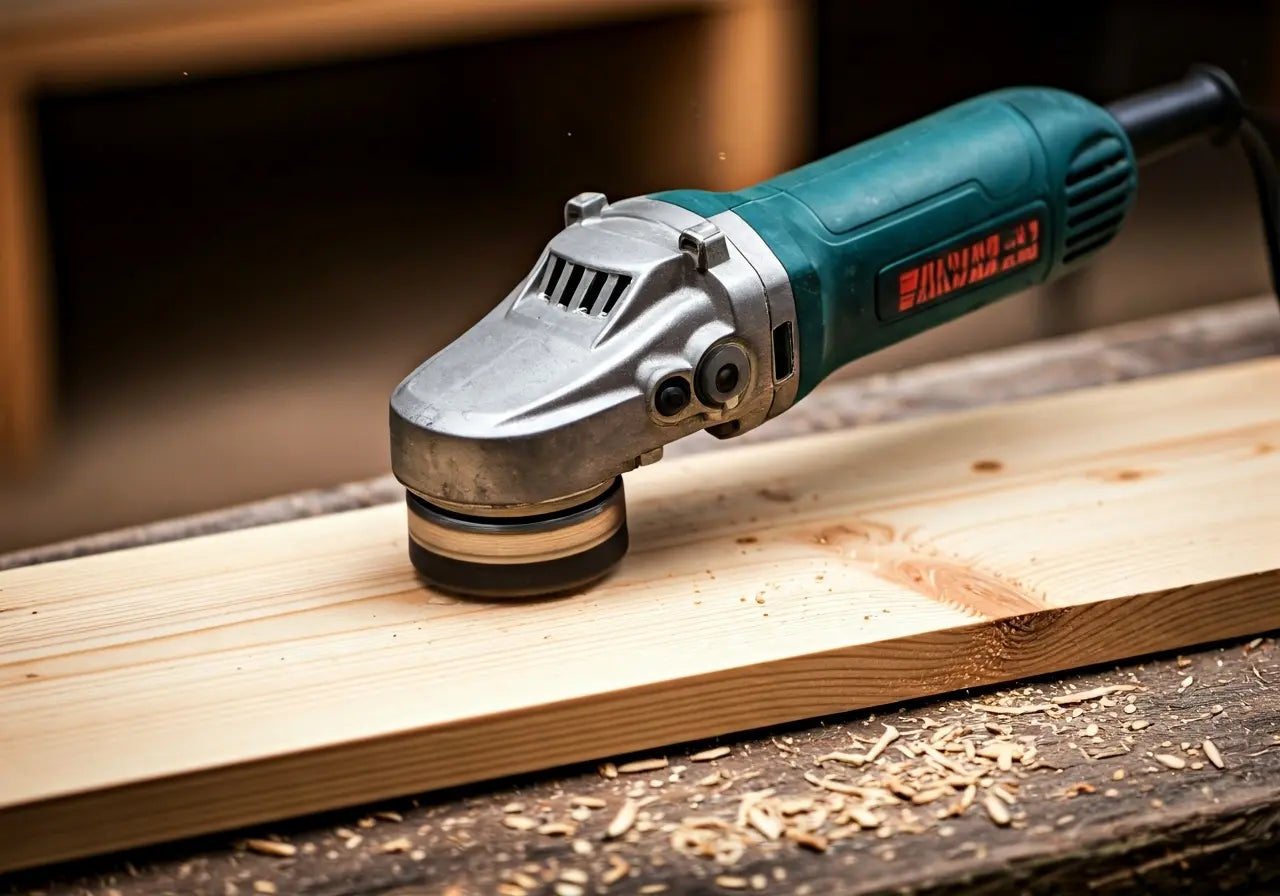
Beyond the basic manual and electric cutters, there’s also the realm of specialized tile cutters tailored for unique tasks. For instance, angle grinders and tile nippers can be invaluable when dealing with intricate shapes or hard-to-reach areas that traditional cutters might struggle with. Angle grinders, equipped with a diamond blade, can create detailed cuts along difficult or awkward lines. Tile nippers, although more manual, allow for small, controlled bites out of the tile, offering finesse in situations where precision is more important than speed. Understanding the capabilities of these various tools empowers you to tackle any project with confidence and skill.
How to Choose the Right Tile Cutter for Your Project
Selecting the right tile cutter hinges on several key factors, each of which can impact the efficiency and quality of your tiling project. First, consider the material and thickness of the tiles you’ll be working with. Standard ceramic tiles are generally easy to cut with manual cutters, but thicker porcelain or stone tiles might require the enhanced power and precision of an electric cutter. Additionally, assess the scale and scope of your project. For large-scale installations, such as extensive kitchen countertops or flooring, investing in an electric wet saw could significantly pay off in terms of time savings and cut precision.
Conversely, if your project involves smaller spaces or more intricate designs, a compact manual cutter or tile nipper may suffice. These tools offer greater maneuverability and control, allowing for more detailed work. Importantly, consider any specific design elements or tile patterns you plan to incorporate. If your work involves lot of diagonal cuts or mosaics, a cutter with multiple customizable settings can be very beneficial. Ultimately, the right tile cutter will be the one that aligns with the unique requirements of your project, balancing factors such as cost, performance, and convenience.
Essential Cutting Techniques for Precision and Efficiency
Achieving clean and precise cuts is a blend of both technique and tool mastery. For straight cuts on ceramic tiles, start with scoring. Align your tile in the cutter and apply steady, even pressure while sliding the lever across the surface to score it. Follow this with a firm snap to break the tile cleanly along the scored line. For curved or angled cuts, particularly on thicker tiles, consider using a wet saw. Guide the tile slowly and steadily, letting the blade do the work, and remember to keep the water flow constant to reduce dust and heat.
Another crucial technique involves understanding how to minimize tile waste. Planning your cuts carefully before you begin can save both materials and time. Measure twice, cut once is the golden rule. Use a grease pencil or marker to outline cuts on the tiles before setting them on the cutter. This visual guide helps in positioning the tiles accurately, ensuring each piece fits perfectly in its designated space without needing excessive adjustments afterward. By mastering these techniques, you not only improve the quality of your work but also enhance your efficiency, producing professional-level results.
Tips for Maintaining Your Tile Cutter
Maintenance is key to ensuring the longevity and effectiveness of your tile cutting tools. Start by cleaning your manual cutters after each use. Remove any tile dust and debris from the surface and moving parts, and keep the scoring wheel free from residue to maintain smooth operation. Regular lubrication of the moving components can prevent rust and ensure each cut remains precise and consistent over time.
For electric or wet saws, it’s especially critical to maintain the diamond blade. Inspect it regularly for signs of wear and replace it when necessary to maintain cutting efficiency. Additionally, keeping the water reservoir clean and free of debris ensures optimal cooling and dust suppression. It’s also a good idea to check the alignment of the blade periodically to prevent crooked or uneven cuts. Following these simple maintenance steps can help safeguard your tools and extend their lifespan significantly.
Common Mistakes to Avoid
Every professional makes mistakes, but in tile cutting, understanding common errors can help you avoid costly missteps. One frequent mistake is neglecting to measure accurately. Inaccurate measurements can lead to tiles that don’t fit correctly, causing wastage and added work. Always double-check your measurements before cutting, and use reliable tools like a ruler or laser measure for precision.
Another pitfall is failing to use the appropriate safety equipment. Tile cutting generates a significant amount of dust and debris, which can be hazardous when inhaled. Always wear a dust mask, safety goggles, and gloves to protect yourself from particles and sharp tile edges. Lastly, don’t rush the cutting process. Taking the time to cut tiles carefully and methodically can prevent chipping and ensure a smoother edge. By being mindful of these common mistakes, you can enhance the overall quality and success of your tiling projects.
Mastering the Art of Tile Cutting
Mastering tile cutting requires practice and knowledge of the right techniques and tools. By enhancing your skills and understanding how to choose the right cutter and maintain your equipment, you can ensure that every project is a success. For more tools and resources, visit our homepage. Happy tiling!

اترك تعليقًا
This site is protected by hCaptcha and the hCaptcha Privacy Policy and Terms of Service apply.